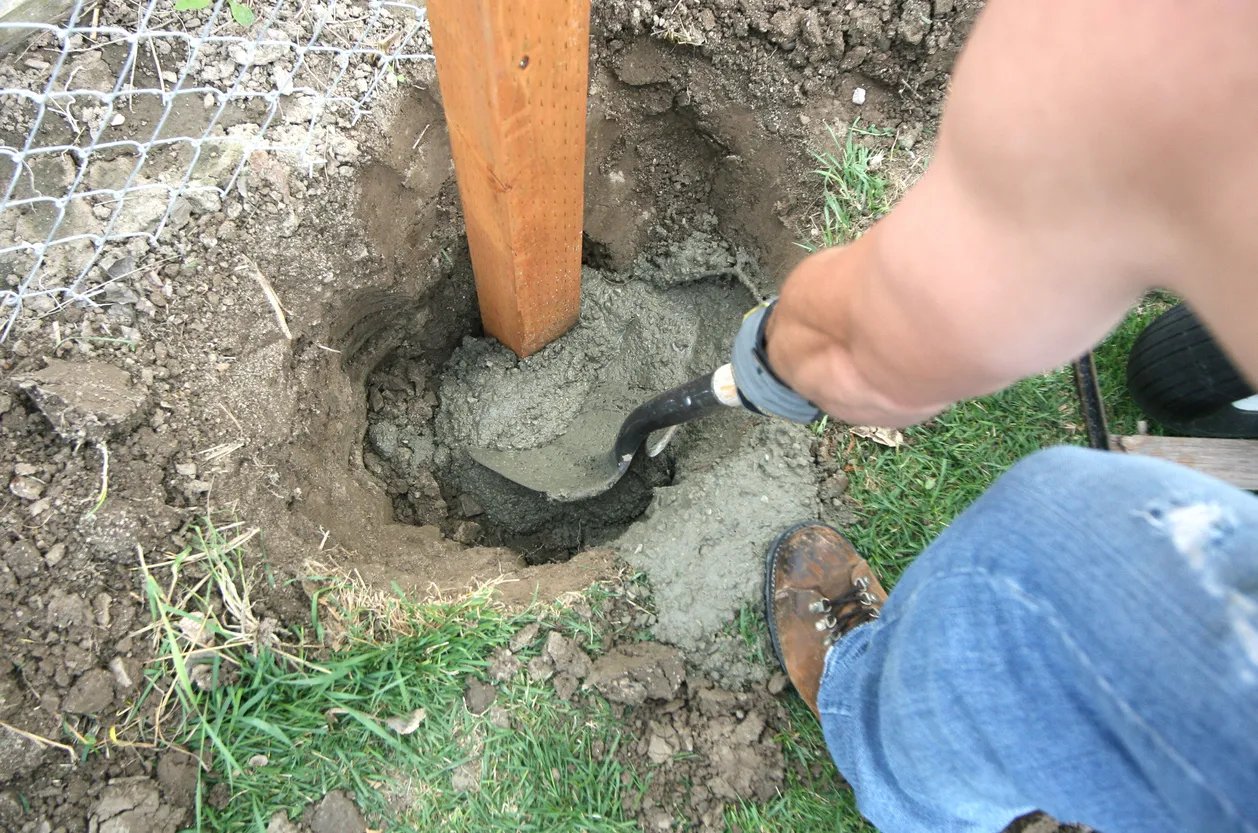
The signs of a rotted fence post
Rot announces itself if you know where to look — and where to poke. Check any post that leans, wobbles, or sits next to a section that's out of line:
- The screwdriver test (the decisive one): push a flathead screwdriver into the post at ground level, on all four faces. Sound wood resists and the blade barely dents it. Rotted wood lets the blade sink in with hand pressure — sometimes an inch or more.
- A lean that starts at one post. Push the post at the top: if the movement is at the base and the post pivots as if it's standing in mush rather than soil, the ground-line wood has gone.
- Soft, crumbly or stringy wood when you scrape the surface with a knife, worst on the shaded, soil-facing side.
- A gap opening at the base — the post shrinking away from its concrete collar as the wood loses substance.
- Fungal growth or a musty smell at the base, and paint or stain that keeps peeling in a ring at ground level despite repainting.
- Rails pulling away from the post. Screws and nails lose their grip as the wood around them softens, so hardware that won't stay tight is a rot symptom too.
Surface discoloration alone isn't rot — probe before you conclude. But if the screwdriver sinks at ground level, no surface treatment saves that post: the failure sits exactly at the point of maximum stress, and the honest repair is a new post. If the lean is already visible, the same job is walked through from the alignment side in our leaning fence guide.
First, a word on repair tricks that aren't
Hardware stores sell steel post menders and repair spikes that drive in beside a rotted post and bolt to it. They have one legitimate use: buying a season or two on a post that is merely loose or lightly rotted while you plan the real repair. On a post that's soft through at ground level, they splint the wood above the rot while the rot carries on underneath — treat them as a temporary brace, never as the repair. The same caution applies to "sistering" a short new post alongside a failed one.
Tools and materials you'll need
For replacing one rotted post
- Post-hole digger or shovel, plus a digging bar or sledge for the old concrete footing
- Pry bar and a length of 2×4 to use as a lever for the old post and footing
- A replacement 4×4 post, pressure-treated and rated for ground contact (check the end tag — above-ground-rated lumber is not enough for a post)
- Fast-setting concrete mix (typically one to two 50 lb bags) and gravel for the hole base
- Scrap 2×4s, stakes and screws for bracing the panels and the new post
- Level or post level, string line, drill/driver and exterior screws
- Wood preservative for the cut end, and gloves — treated lumber dust and wet concrete both demand them
Before you dig: call 811
Replacing a post means digging the old footing out and a new hole in — so the standing rule for all fence digging applies: in the US, call 811 (or use your state's online service) at least a few business days ahead so buried utilities get marked. It's free. Also confirm the post sits on your side of the property line before you re-set a boundary fence post.
The repair, step by step
-
Brace the fence so nothing moves
Screw a diagonal 2×4 from a sound part of the panel — or a neighboring healthy post — down to a stake driven into firm ground, on the side the fence leans away from. If both adjoining sections depend on this post, brace both. The run has to stay exactly where it is while its support is out.
-
Detach the rails and panels
Remove the screws or nails fastening the rails or panels to the bad post on both sides. On panel-style fences, lift the whole panel out and lay it flat somewhere safe. Support any rail ends left hanging so they don't sag and twist while the post is out.
-
Dig out the old post — and all of its concrete
Dig around the post to expose the footing. A rotted post often snaps at ground level; dig down, expose the buried stub and footing, and remove both. Rock the footing loose with your lever (a long 2×4 over a block as a fulcrum), or break the concrete up in place with the digging bar and lift the pieces out. Leave nothing of the old footing behind: new concrete poured against broken old concrete makes a weak pocket that traps water against the new post.
-
While the hole is open, test the neighbors
Screwdriver-test the posts on either side at ground level. Posts of the same age, in the same soil, rot on roughly the same schedule — finding a second failed post now, with the tools out and the fence already braced, is far cheaper than repeating the whole job next spring.
-
Set the new post
Clean the hole out to firm soil, about 10–12 inches across and 24–36 inches deep — bury roughly a third of the post, and go below the frost line in cold climates. Pour in 4–6 inches of gravel, stand the post on it, align it to your string line, plumb it on two faces, and brace it both ways. Pour the concrete and crown the top so it slopes away from the post, shedding rain instead of pooling it against the wood.
-
Cure, then re-attach
Leave the braces on for at least 24 hours. Fast-setting concrete firms up within the hour but shouldn't carry the fence's full load right away. Then re-attach the rails or panels with fresh exterior screws, checking the top line against the string as you go.
-
Treat, seal and finish the ground line
Brush wood preservative onto any cut end. Backfill and firm the soil so it slopes gently away from the post, and keep mulch and soil from piling against the wood above the concrete crown. Plan to stain or seal the new post once the treated lumber has dried for a few weeks — our paint and stain guide covers the timing.
What does a pro charge for this?
Post replacement runs about $150–$350 per post professionally done, and rot repairs overall fall in the $150–$500 range — see how your job compares.
When the whole line is the better repair
One rotted post on a healthy fence is a Saturday job. Several rotted posts are a message about the fence as a whole: same lumber, same soil, same installation shortcuts. Replacing posts one at a time, a season apart, costs more in total — and in repeated weekends — than rebuilding the run once. Consider replacing the run (or the fence) when:
- Three or more posts fail the screwdriver test along one run, or most of the rest are visibly close behind.
- More than about 20% of the fence is damaged overall — the repair-vs-replace threshold from our cost guide.
- The rails and pickets are going too — split rails, pickets soft at the bottom, fasteners that no longer hold anywhere.
- The fence is near the end of its expected life anyway — roughly 15–20 years for a wood fence. A new post in a dying fence buys very little.
If that's your situation, get both quotes — run replacement and staged repairs — and compare cost per remaining year. Our hiring guide shows how to get quotes you can actually compare, and the wood fence guide covers how a wood fence is built if you rebuild the run yourself.
Making the new post outlast the old one
- Buy ground-contact-rated lumber. The single biggest upgrade, and a post is the one place not to save the few dollars.
- Gravel under, crown on top. Drainage at the bottom and a rain-shedding slope at the top keep the ground-line band — the rot zone — as dry as buried wood can be.
- Keep the base clear. Soil, mulch and leaf litter piled against the post hold moisture against it year-round. Leave the concrete crown visible, and add a post cap to shed water off the top end grain.
- Probe the bases every spring. Thirty seconds with a screwdriver per post, as part of the seasonal maintenance routine, turns the next failing post into a small planned repair instead of a lean.
Not sure whether one post is a DIY job or the start of a pro-sized project in your yard? The honest split is in DIY or hire a pro?
Rotted fence post questions, answered
Can a rotted fence post be repaired without replacing it?
Only as a stopgap. Steel menders and repair spikes can stiffen a post that's loose or lightly rotted and buy a season or two, but rot at ground level keeps spreading under the splint, and the post keeps losing strength exactly where the stress is. If the screwdriver sinks in at ground level, plan on replacement — the mender money is better spent toward the new post.
How long should a replacement fence post last?
A ground-contact-rated pressure-treated post, set on gravel with a crowned concrete collar and kept clear at the base, should last as long as the fence around it — 15 years or more is a reasonable expectation, in line with the 15–20 year lifespan of a wood fence overall. The original posts usually failed early because they were above-ground-rated lumber, set flat-topped in concrete, or buried in soil and mulch.
Does setting a post in concrete make it rot faster?
Badly done concrete, yes; concrete itself, no. A flat-topped pour pools rainwater against the wood at exactly the rot zone, and concrete poured tight around a post laid on soil traps moisture at the base. The fixes are simple: gravel under the post so water drains away, and a crowned top that sheds water off. Posts set in plain soil generally rot faster than either.
How much does it cost to replace a rotted fence post?
Professionally, about $150–$350 per post, with rot repairs overall in the $150–$500 range; doing several posts on one visit usually lowers the per-post price. DIY, the same job is roughly $25–$75 in materials — post, concrete, gravel and screws. Our fence repair cost guide puts post work in context with every other common repair.