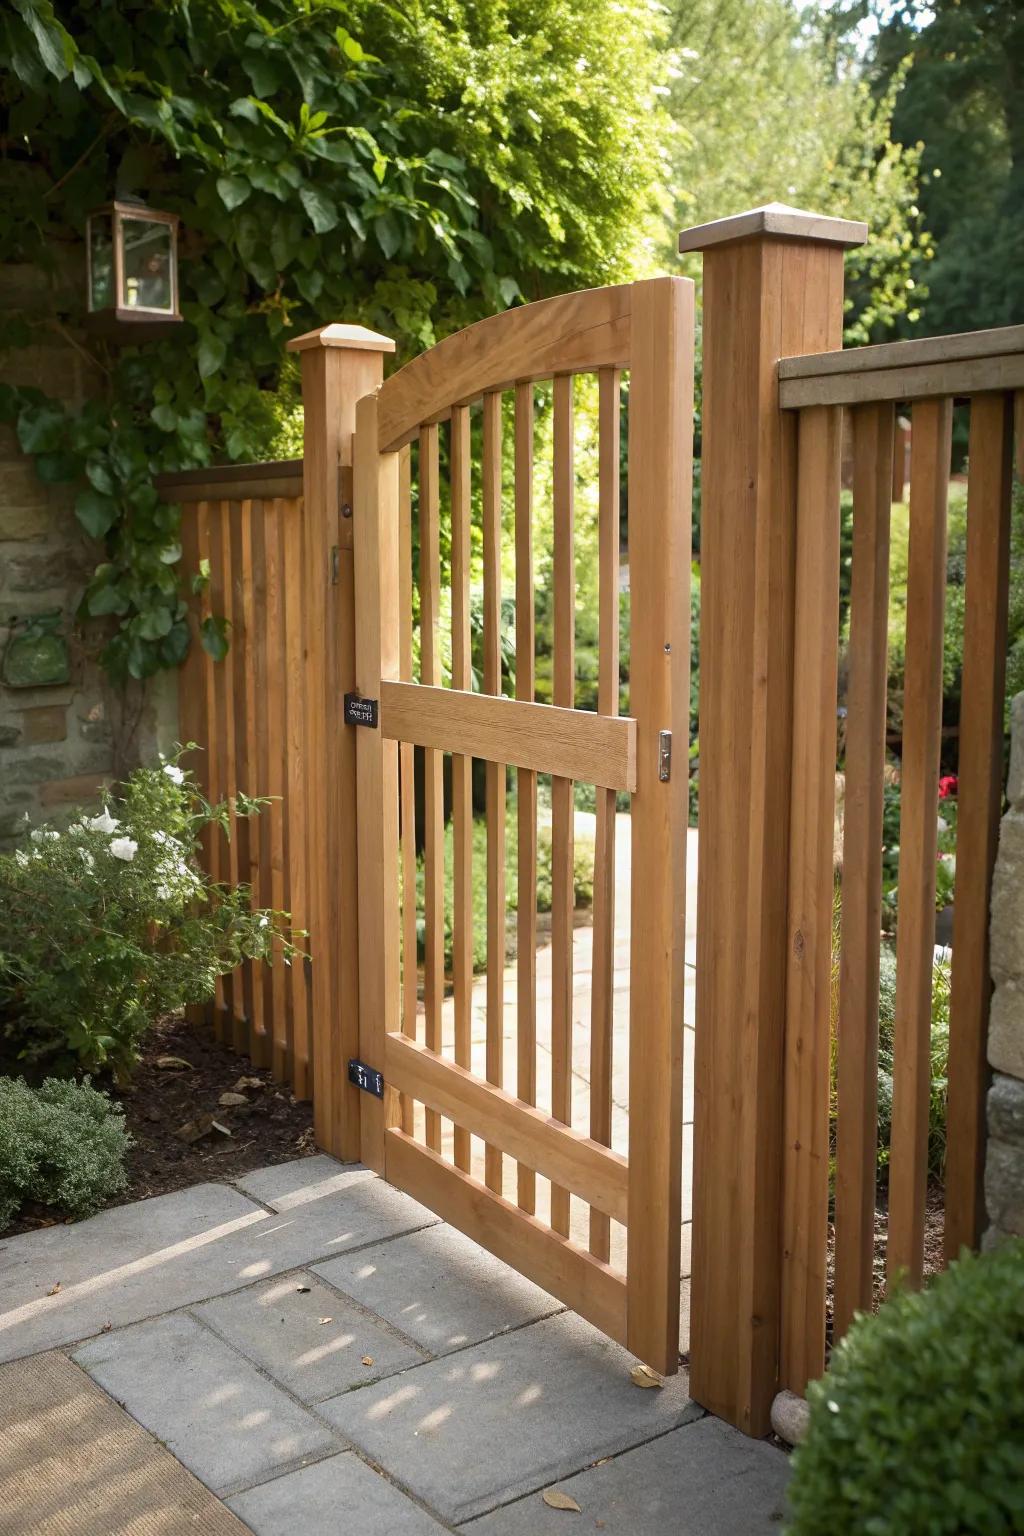
Step zero: repair before you finish
A finish seals in whatever is underneath it — including the rot, the split picket and the loose rail. Coating first and repairing later means cutting into your new finish within the year. So the order is: replace failed posts, swap broken boards and panels (panel replacement guide), tighten and re-fasten rails, hammer down or replace protruding fasteners, and only then start prep. If the spring inspection sent you here, this is the summer job from the maintenance checklist — done in its proper place in the sequence.
Prep: the half that decides everything
-
Clean the fence
Dirt, mildew, pollen and gray weathered fibers all block adhesion and penetration. Wash with a garden hose, a stiff brush and a fence-safe detergent or wood cleaner, working top-down and rinsing well. A pressure washer works on its gentlest effective fan setting, kept moving and at a distance that doesn't raise the grain — furring up the wood with high pressure is the classic DIY prep wound. Mildew spots get a dedicated treatment before coating, or they telegraph through.
-
Let it dry — really dry
Coating over damp wood traps moisture and guarantees early failure. After washing, or after rain, give the fence several dry days (two to three minimum, more in shade or humid weather). New pressure-treated lumber needs longer: it's often sold wet, and it should weather until water sprinkled on it soaks in instead of beading — the sprinkle test — typically a few weeks to a few months after installation.
-
Sand, scrape and scuff
Scrape loose, peeling old paint back to sound material and feather the edges with sandpaper. Sand rough, splintered spots smooth (80–100 grit for trouble spots), and scuff glossy old finishes so the new coat has something to grip. Bright, oxidized "mill glaze" on brand-new boards also wants a light sanding or a cleaner-brightener pass, or stain sits on top instead of soaking in.
-
Mask and protect
Tape or cover hardware you don't want coated, shield plants at the fence line, and lay drop cloths where drips would stain a patio or walkway. If you're spraying, wind carries overspray further than you think — your neighbor's car is part of this step's planning.
Paint or stain? The honest comparison
| Stain | Paint | |
|---|---|---|
| How it works | Penetrates the wood; protection is in the surface, not on it | Forms a film on top of the wood |
| Look | Shows the grain (transparent) through to near-opaque color (solid stain) | Full, uniform color; grain hidden |
| How it ages | Fades gradually; doesn't peel | Eventually chalks, cracks and peels |
| Recoating | Easy: clean and recoat, no stripping | Harder: peeling areas must be scraped and sanded first |
| Typical interval | Semi-transparent 2–3 years; solid stain 3–5 years | About 5–7 years for a quality job on prepped wood |
| Best for | Newer, good-looking wood; anyone who wants easy upkeep | Older, patched or mismatched wood a uniform color would rescue |
Two switching rules: you can paint over stain (after cleaning and scuffing), but you can't stain over paint — stain can't penetrate a paint film, so painted fences that want stain must be stripped first. When in doubt on a sound, attractive fence, stain is the lower-maintenance life.
Which fences take a finish at all?
- Wood: yes — this whole guide. Details by fence style are in the wood fence guide.
- Wrought iron: yes — paint is its rust protection, applied over rust-free, primed metal; the system is covered in the iron fence guide.
- Composite: essentially no — manufacturers advise against painting or staining, adhesion is poor, and coating usually voids the warranty (composite guide).
- Vinyl: no, as designed — it isn't made to hold coatings, and specialty vinyl paints are a last resort for a fence you dislike, not a maintenance step (vinyl guide).
- Aluminum: it arrives powder-coated; your finish work is touching up scratches with matching paint to protect the surface (aluminum guide).
- Chain-link: the galvanized finish is the finish; painting chain-link is uncommon, messy, and not a maintenance need (chain-link guide).
Pick the weather window
- Dry behind and ahead: the wood dry from several rain-free days, and no rain expected for at least 24–48 hours after coating.
- Mild temperatures: roughly 50–85°F is the working band for most exterior products — check your can's label, which outranks any guide. Too cold and the finish won't cure or penetrate; too hot and it skins over before it bonds.
- Out of harsh midday sun where you can: coating a sun-baked fence dries the finish on contact instead of letting it soak in. Follow the shade around the yard, or start early.
- Low wind if you're spraying — for the fence's sake (debris in wet finish) and the neighborhood's.
Application, step by step
-
Stir, and test a patch
Stir stain thoroughly — the pigment settles, and an unstirred can gives you a different color at the bottom than the top. Brush a test patch somewhere inconspicuous and let it dry: wet color lies, dry color is the truth.
-
Work top-down, board by board
Whether brushing, rolling or spraying, finish complete boards end to end before moving on — stopping mid-board leaves a lap mark that shows forever. Work from the top down so drips land on uncoated wood you can still brush out. A pump sprayer is the fast route on long fences, but back-brush every sprayed section: the brush works finish into the grain and erases the sprayed-on look.
-
Two thin coats beat one thick one
Thick coats skin, sag and peel; thin coats penetrate and bond. Respect the label's recoat window for the second coat — and don't over-apply stain: wood that's saturated stops absorbing, and the excess dries as a sticky film. If it stops soaking in, you have enough.
-
Give end grain an extra drink
Board ends, picket tops and the cut ends of rails absorb water fastest and rot first. An extra pass of stain or a dedicated end-grain sealer there is the cheapest lifespan upgrade in this whole guide.
-
Let it cure before life resumes
Keep sprinklers, leaning tools, and climbing kids off the fence for the label's cure time — usually at least 24–48 hours. Then walk it once, brush out any missed spots while your eye still knows the color, and note the product and date in your records for the next cycle.
Finishing is one season of a year-round routine
The seasonal maintenance checklist times this job against inspections, cleaning and hardware checks, spring through winter.
How often to recoat, by finish
- Semi-transparent stain: every 2–3 years. It fades fastest and recoats easiest — clean, dry, apply.
- Solid-color stain: every 3–5 years; the most forgiving finish for older wood short of paint.
- Paint (wood): every 5–7 years for quality paint over good prep — and immediately at any peeling spot, because a breach lets water under the film.
- Iron paint: judged by inspection, not calendar — spot-prime and touch up chips the season you find them (see the maintenance checklist), full recoats when touch-ups stop blending.
Harsh sun, wet shade and sprinkler splash all shorten every interval above. The real schedule is the one your spring inspection writes: when water stops beading and starts soaking straight into the wood, the old coat has stopped working, whatever the calendar says.
Paint and stain questions, answered
Can I stain over paint, or paint over stain?
Paint over stain, yes — clean, scuff the surface for grip, and paint. Stain over paint, no: stain works by penetrating wood, and a paint film blocks it entirely, so the stain would sit on top and fail within a season. A painted fence that wants to become a stained fence has to be stripped to bare wood first — which is why the original choice matters.
How long should a new fence weather before staining?
Until it's dry, which you test rather than guess: sprinkle water on the boards — if it beads, wait longer; if it soaks in, the wood is ready. Pressure-treated lumber sold wet commonly needs a few weeks to a few months of dry weather. Kiln-dried lumber may be ready almost immediately. Staining wet wood seals moisture in and shortens the finish's life, so this is the wait that matters.
Sprayer, roller or brush — which is best?
For stain on a typical backyard fence, a pump sprayer with immediate back-brushing gives sprayer speed with brush penetration, and it's the method most DIYers get the best result from. A brush alone is slower but the most controlled around plants and edges; a roller suits flat panels and solid stains. For paint, brush-and-roller work gives the most durable film. Whatever applies it, the finish is only as good as the prep under it.
How much does it cost to have a fence stained or painted?
As part of the fence repair cost guide's figures, professional staining or painting typically adds roughly $3–$14 per linear foot depending on the product, the prep needed and your area — old peeling paint that must be stripped sits at the top of the range. DIY, the cost is the product itself plus brushes or a sprayer, which is why this job is one of the better-value weekends in fence ownership.