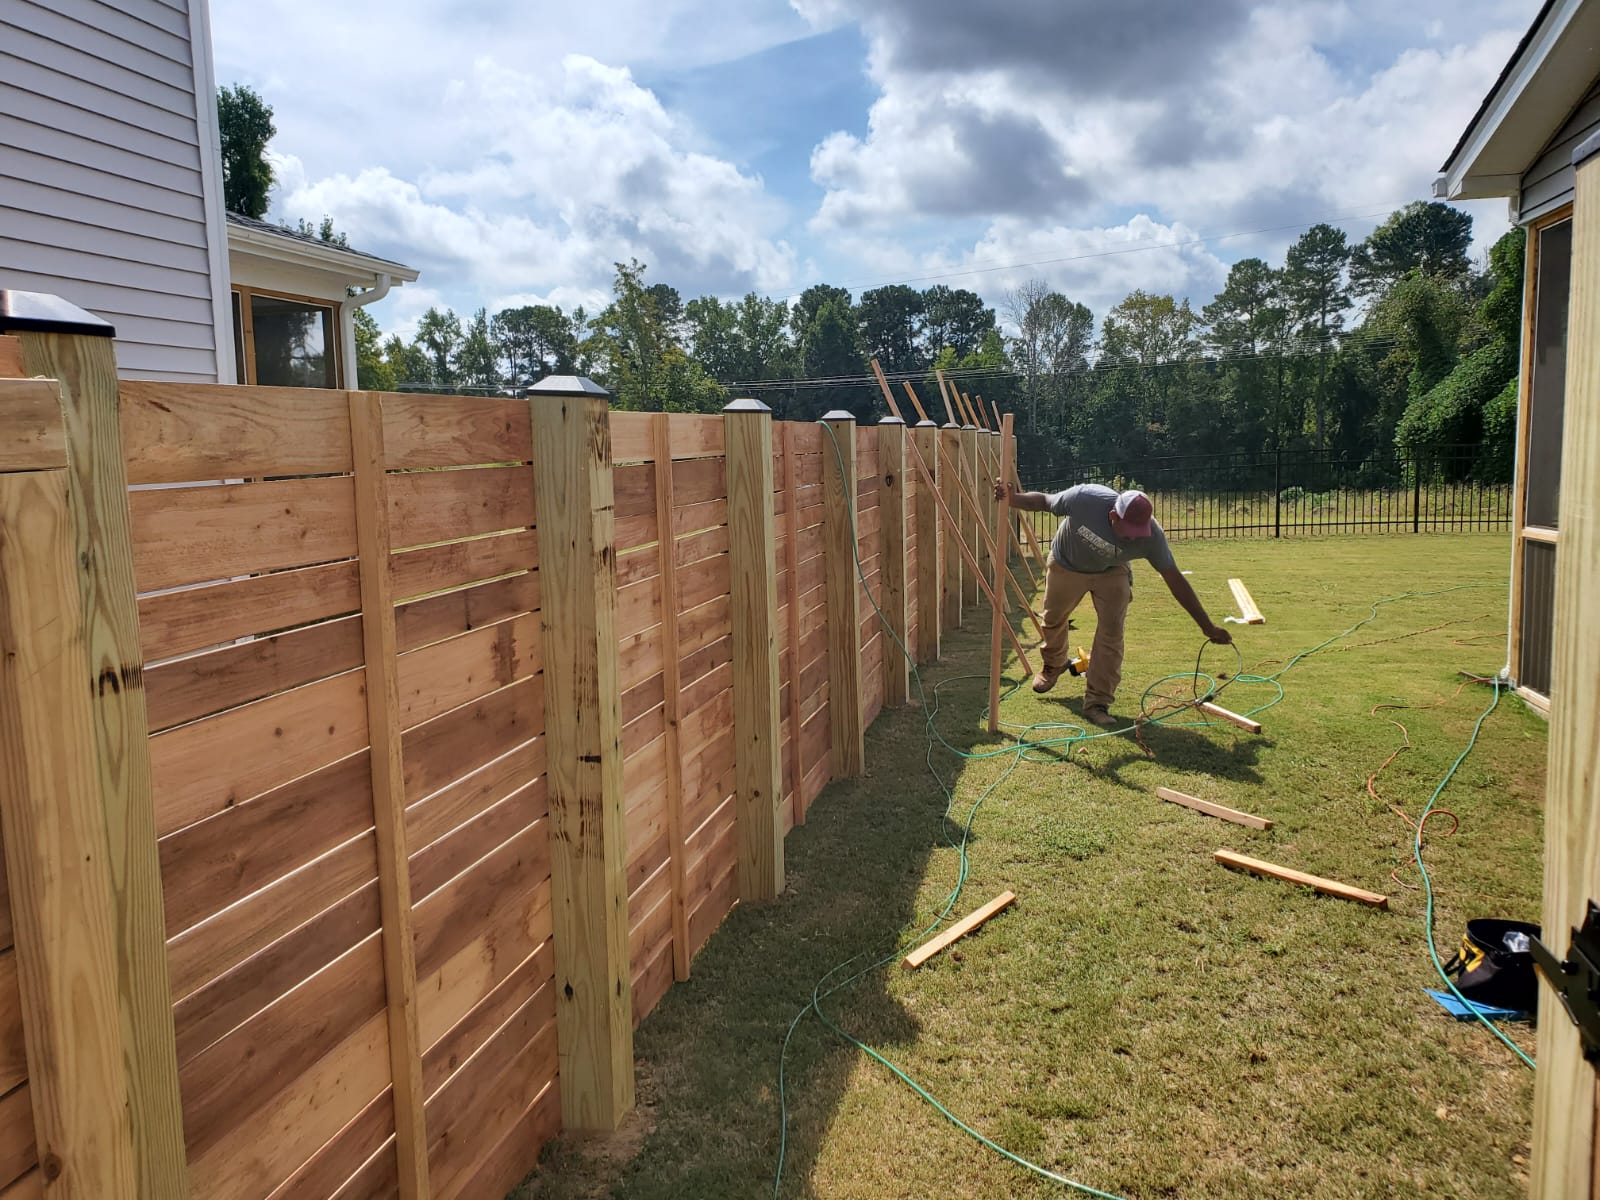
Start with the posts, not the panel
A new panel between two failed posts is money thrown at the wrong layer. Before buying anything:
- Screwdriver-test both posts at ground level. If either post is soft, that's the real repair — see our rotted fence post guide — and the panel waits until the post is replaced.
- Check the posts are plumb and firmly set. Push each at the top. A panel forced between two leaning posts will bind, gap, or telegraph the lean forever.
- Measure the actual spacing between the posts, center to center and face to face. Posts drift over the years; the panel you build or buy must fit the opening that exists, not the one on the original plan.
One relief: a panel swap involves no digging, so no 811 call is needed — unless a post turns out to need replacing too, in which case stop, and make the free 811 call a few business days before that digging starts.
Measure and match before you remove anything
- Width: post center to post center (and confirm the face-to-face opening).
- Height and top line: overall height, and whether the top is flat, dog-eared or scalloped — the new panel's top must continue the run's line.
- Wood fences: picket width and profile (flat-top, dog-ear, gothic), the gap between pickets, and the number and height of the horizontal rails — replacement rails must land at the same heights to meet the neighboring panels.
- Vinyl fences: the brand and panel profile. Vinyl parts interlock by manufacturer-specific shapes and come in specific colors; a close-enough panel from another brand usually isn't. Photograph the panel and any labels, and order the replacement before removing the old one, so the yard isn't standing open while parts ship.
- Take a photo of the whole section — it's your reference for rail positions, fastener pattern and finish.
Tools and materials you'll need
For one panel swap
- The replacement panel (pre-built for wood, brand-matched for vinyl) or the rails and pickets to build one
- Drill/driver and a pry bar for the old fasteners; reciprocating saw for fasteners that won't back out
- Exterior screws — hot-dipped galvanized or stainless, 2½ to 3 inch for rails into posts
- Level, tape measure, string line for the top line, and a helper — panels are two-person lifts
- Saw for trimming the panel to the actual opening, and stain or sealant for finishing (wood)
- Gloves and eye protection: old panels hide splinters and nail points
Replacing a wood panel, step by step
-
Free the old panel
Back out the screws or pull the nails fastening the panel's rails to both posts. Fasteners that spin or snap get cut with a reciprocating saw between rail and post. Pry gently — the rails of the neighboring panels are attached to the same posts, and enthusiasm here splits them.
-
Lift it out and clear the opening
With a helper, lift the panel clear and lay it flat. Pull or hammer flat any protruding nails in the posts, and brush the post faces clean so the new panel seats fully. If you're building the replacement from rails and pickets rather than using a pre-built panel, the old panel on the ground is your template — build directly over it.
-
Dry-fit the new panel
Set the new panel in the opening without fasteners. Trim its width to the measured opening if the posts have drifted — take the material off the end pickets evenly. Confirm the rails line up with the neighbors' rails and the pickets match the run's spacing pattern.
-
Set the top line
Run a string across the tops of the panels on either side, and rest the new panel's top on that line. A panel a half-inch proud or shy of its neighbors is the first thing every eye catches afterward — this string is the cheapest quality control on the job.
-
Fasten it properly
Two exterior screws through each rail end into each post. Check the panel is plumb and the pickets vertical as you go, and shim nothing — if it doesn't sit right unfixed, it won't sit right fixed.
-
Or just replace the broken pickets
If the "panel damage" is really two or three broken boards, skip the panel: pry off the damaged pickets, cut replacements to length, and screw them to the existing rails. It's the cheapest repair on any wood fence — the wood fence guide covers it — and it preserves the run's weathered, matching look.
Replacing a vinyl panel
Vinyl changes the motions, not the logic. Work on a mild day if you can — vinyl gets brittle in deep cold and cracks where warm vinyl would flex. Remove the post cap and the top rail (vinyl rails typically unclip or slide out of routed post holes), then lift the tongue-and-groove pickets or the panel section out of the bottom rail. Note the internal aluminum rail stiffener if your system uses one — it often transfers to the new panel. Fit the matching replacement panel or pickets, re-seat both rails fully into the posts (a rail not fully home is a panel that pops loose in the next storm), and refit the cap. Profile matching is everything here; the vinyl fence guide covers how these systems go together and why the parts have to be exact.
Panel replacement is the classic mid-range job
One wood panel professionally installed runs about $150–$300; vinyl panel work totals $250–$800. See where your quote lands.
Fasteners that won't undo your work
- Exterior-rated screws — hot-dipped galvanized, coated deck screws, or stainless — for anything structural. Plain steel and drywall screws rust, streak the wood, and snap.
- Screws over nails on repairs. They hold tighter against wind racking, and the next repairer (possibly you) can back them out without destroying the rails.
- Pre-drill near board ends to stop splits, especially in dry or aged lumber.
- Two fasteners per rail-to-post joint, minimum — one fastener is a hinge, and panels that can pivot work themselves loose.
Finishing so the new panel matches
Be honest with yourself about the goal: close, not invisible. New wood is brighter than weathered wood, and there's no shortcut around it. Your options are to let the new panel weather for a few weeks and then stain the whole run in one pass (the best-looking result), or to stain the new section now with a slightly weathered tone and accept a small difference that fades over a season. Vinyl has the mirror-image problem: the new panel is the original color and the old fence has sun-faded lighter; the difference softens over a season or two of sun. Either way, keep the new panel's receipts and product details — "what exactly did we buy last time" is the first question of the next repair. Our paint and stain guide covers product choice and timing in full.
When a panel swap isn't a DIY job
- Several panels at once, or a whole storm-damaged run — that's storm repair territory, posts first.
- Tall fences (over about 6 feet) or panels on a steep slope, where sections are stepped or custom-raked.
- Vinyl or composite panels whose profile is discontinued — a pro's supplier network may find matching old stock; see the composite guide for that problem in its material.
- Boundary panels where the line or cost-sharing is in dispute.
For the general split, see DIY or hire a pro? — one panel on flat ground between sound posts is right at the top of the DIY list.
Fence panel replacement questions, answered
How much does fence panel replacement cost?
For a wood fence, one standard panel professionally installed typically costs $150–$300. A vinyl panel itself runs about $150–$400, with total vinyl panel jobs commonly $250–$800, because the panel must match the existing profile exactly. DIY, a wood panel is the price of the panel or boards plus screws. Full context is in our fence repair cost guide.
Can I replace just one panel without touching the posts?
Yes — that's the point of panel construction. As long as both posts pass the screwdriver test and stand plumb and firm, the panel between them is a component that unfastens and swaps. If a post has failed, replace the post first; a new panel mounted to a bad post inherits the post's problems immediately.
Will the new panel match the rest of my fence?
Structurally, yes, if you match profile, picket size, rail positions and top line. Visually, expect a difference at first: new wood is brighter than weathered wood, and new vinyl is a shade deeper than sun-faded vinyl. Both differences fade — wood can be blended by staining the whole run after the new panel weathers a few weeks; vinyl evens out with sun exposure.
The new panel doesn't fit between my posts. Why?
Because the posts have moved since the fence was built — heaved, leaned a fraction, or were never at the nominal spacing to begin with. Measure the actual opening, top and bottom (they may differ), and trim a wood panel to fit, or build the replacement from rails and pickets in place. On vinyl, where trimming isn't possible, a post that's drifted out of position has to be corrected first — that's post work, not panel work.