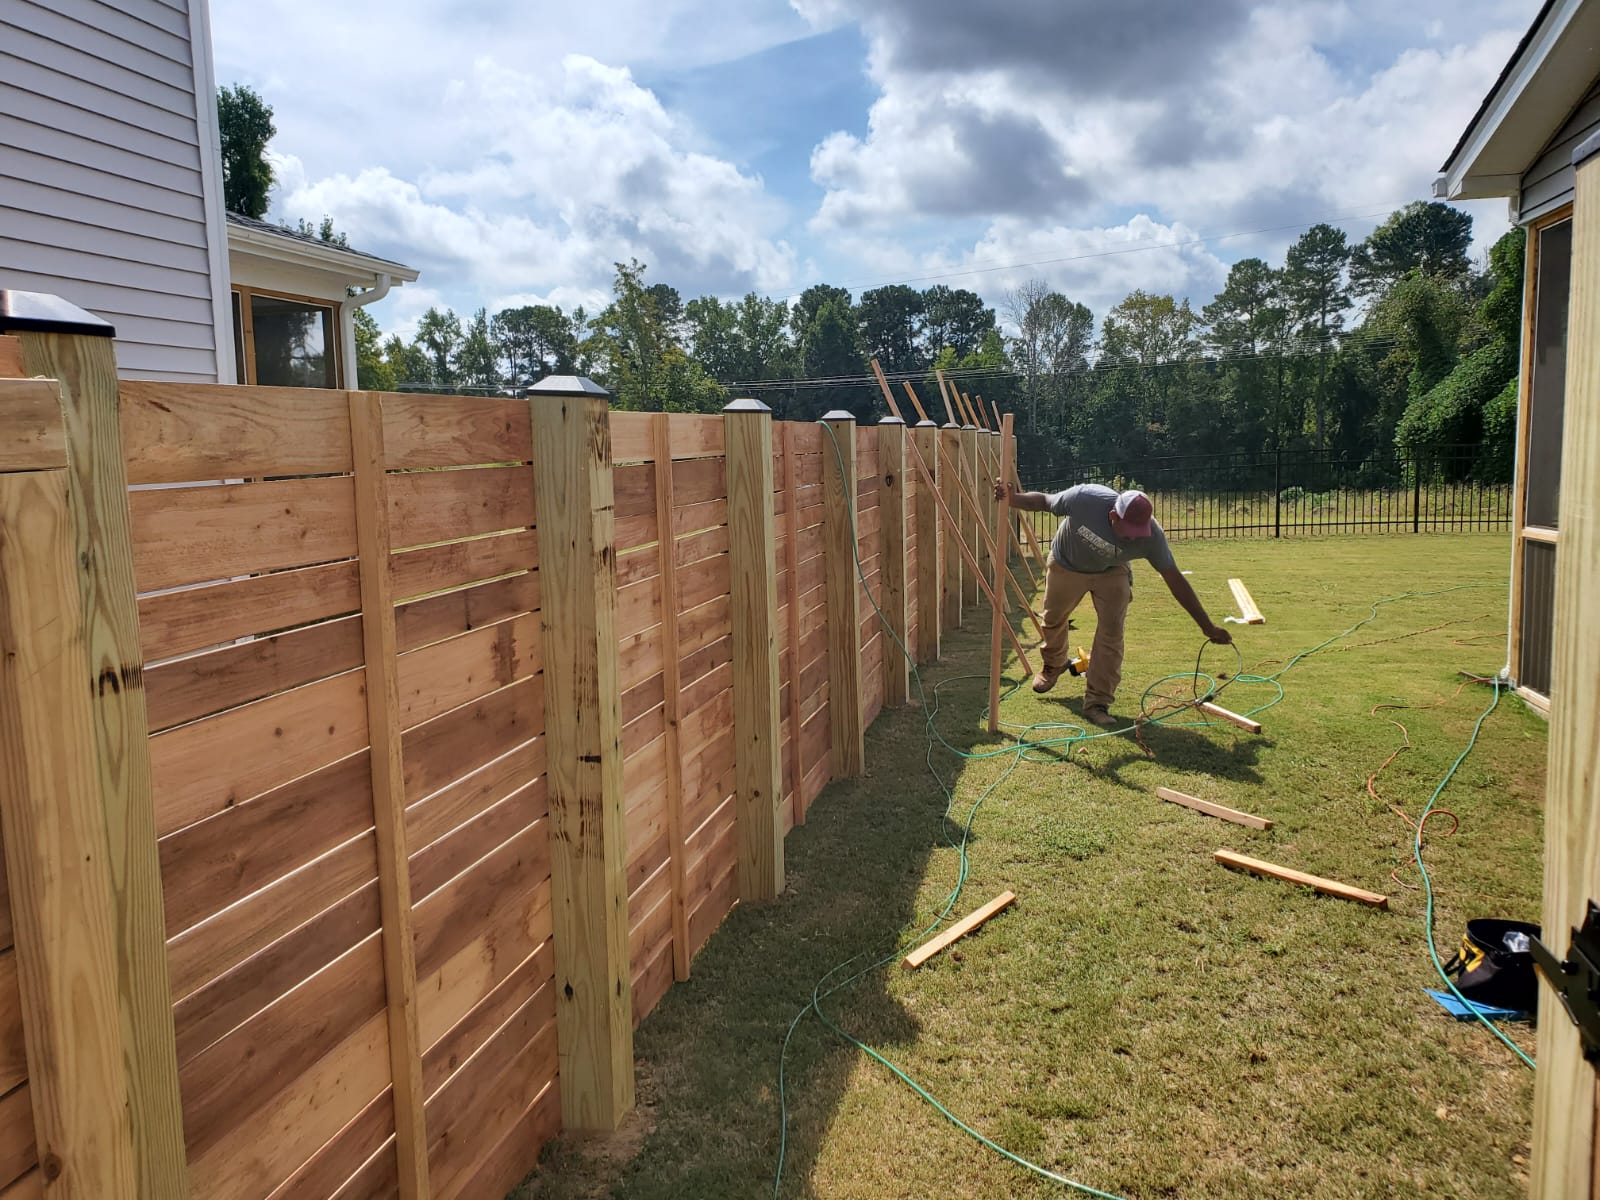
The fence installation steps
Step 1: Plan — permits, property lines, HOA rules, neighbors
More fence projects go wrong on paper than with a shovel. Before buying a single post:
- Find your property line. Use your survey or plat if you have one. If the line is uncertain and the fence follows it, a survey is cheaper than moving a fence — or a dispute. Build a few inches inside your own line if there's any doubt.
- Check local rules. Most cities regulate fence height (commonly 6 feet in backyards, 3–4 feet in front yards), setbacks from sidewalks and streets, and sometimes materials. Some require a permit; many don't for a standard residential fence — but "many" isn't "yours." One call or website check with your building department settles it.
- Check your HOA. HOAs frequently specify height, style, color and even which side faces out, and may require approval before you build. Get the approval in writing.
- Pool fences have their own code. If the fence encloses a pool, expect specific requirements for height, picket spacing, and self-closing, self-latching gates — often with the latch at a set height. These are safety laws, not formalities.
- Talk to your neighbors. A heads-up conversation — and, on a shared line, a written note about any cost-sharing — prevents most fence disputes. Some states and cities have formal "good neighbor fence" rules about boundary fences; know yours.
Step 2: Call 811 before you dig
Non-negotiable: the free call that prevents the expensive accident
In the US, call 811 (or submit online to your state's service) at least a few business days before digging. Utility crews mark buried gas, electric, water and telecom lines for free. Then dig carefully by hand within about 18–24 inches either side of a mark. Hitting a line is dangerous, expensive, and entirely avoidable — there is no version of "it's just one post hole" that excuses skipping this.
Step 3: Lay out the fence line
Drive stakes at the corners and ends, run a taut string line between them at the fence's intended face, and check the corners are square (the 3-4-5 triangle method: 3 feet along one line, 4 along the other, 5 across the diagonal means a true right angle). Mark each post position along the string at your system's spacing — 6–8 feet for wood rails, the exact panel width for vinyl/aluminum/composite systems, up to 10 feet between chain-link line posts. Mark gate openings now, and walk the line once more from both ends before digging anything.
Tools and materials you'll need
The standard fence-building kit
- Post-hole digger or power auger (rentable), shovel, digging bar
- String line, stakes, tape measure, spray paint or marking flags
- 4-foot level or post level, speed square
- Circular saw or miter saw; drill/driver and impact driver
- Wheelbarrow and hoe or a rented mixer for concrete
- Fast-setting or standard concrete mix, gravel for hole bases
- Scrap 2×4s and screws for bracing; hammer, pry bar, pliers
- Safety basics: gloves, eye protection, hearing protection for saws and augers, sturdy boots
Step 4: Set the posts — the step that decides everything
-
Dig the holes
Holes should be roughly three times the post's width (10–12 inches for a 4×4) and deep enough to bury about a third of the post — around 24–36 inches for typical 6-foot fences — with the bottom below your local frost line in cold climates. Bell the bottom of the hole slightly wider in frost country; it resists heave.
-
Gravel, then post, then concrete
Pour 4–6 inches of gravel into each hole for drainage. Stand the post, align it to the string, plumb it on two faces, and brace it both directions. Pour concrete (fast-setting mix is the DIY favorite), tamping out air pockets, and crown the top so water sheds away from the post rather than pooling against it.
-
Cure before you load them
Fast-setting concrete firms up within the hour, but posts shouldn't carry rails, panels or — especially — gate weight for at least 24 hours, longer in cold weather. Use the waiting day to stage materials. Every leaning-fence repair on this site traces back to a post that was loaded green, set shallow, or set without drainage.
Compare all six fence types first
Lifespans, what goes wrong with each, and which ones you can genuinely build yourself — side by side in the fence types hub.
Step 5: Add the framework and surface
This step differs by material — each type guide on this site covers its own — but the pattern is shared:
- Wood: hang 2–3 horizontal rails between posts, then nail or screw pickets to the rails with consistent gaps. Wood fence build details →
- Vinyl: insert the bottom rail, stand the tongue-and-groove pickets into it, cap with the top rail, panel by panel. Vinyl fence install details →
- Chain-link: fit bands and top rail on the framework, then unroll, stretch and tie the mesh. Chain-link install details →
- Aluminum: bolt each pre-made panel section between posts, racking or stepping on slopes. Aluminum fence install details →
- Composite: stack boards into the grooved posts with expansion gaps, then cap. Composite fence install details →
- Wrought iron: shop-fabricated and installed by professionals — the homeowner's guide is on the iron fence page.
On slopes, every material uses one of two methods: stepping (level sections descending in steps, leaving triangular gaps at the bottom on steep grades) or racking (the fence follows the slope's angle, for systems designed to). Choose before you set posts — the method changes post heights and positions.
Step 6: Hang the gates and finish
Build or hang the gate last, into an opening you've measured twice. The rules that keep gates working: the gate post gets the deepest, widest footing on the job; the gate frame needs a diagonal brace running from the bottom hinge side to the top latch side; use three hinges on tall or wide gates; and set hardware — self-closing hinges and a latch at code height — where pool or local rules require it. Then finish the fence: caps on the posts, stain or seal for wood once it has weathered a few weeks, touch-up paint where metal got scratched, and a walk-around checking fasteners, lines and gate swing. Finally, photograph the finished fence and file your material receipts and product names — every future repair starts with knowing exactly what you built.
Safety notes that actually matter
- Augers bite: a power auger that hits a root or rock kicks hard. One operator, no loose clothing, and stop if it grabs — forcing it is how wrists get hurt.
- Concrete is caustic and heavy: gloves on for mixing and pouring; lift bags with your legs; a fence's worth of concrete is real tonnage.
- Panels and gates are two-person lifts: they're awkward sail-shapes that catch wind mid-carry.
- Sun and hydration: fence building is a full day of outdoor physical work; plan water and shade breaks unromantically into the schedule.
Build a fence — questions, answered
How long does it take to build a fence?
A typical backyard fence (50–100 linear feet) takes a first-time DIYer about 2–4 working days — commonly split as a weekend for layout, holes and posts, and a second weekend for framework, surface and gates, respecting concrete cure time in between. Professional crews usually complete the same fence in 1–2 days.
Do I need a permit to build a fence?
Sometimes. Many places allow a standard residential fence without a permit but still enforce height and setback rules; others require a permit, and pool fences are regulated almost everywhere. HOA approval is separate from city permits and often stricter. Check both before you build — a fence that violates the rules can have to come down.
What is the easiest fence to build yourself?
Chain-link and panel-system fences (aluminum, and vinyl on flat ground) are the most forgiving: chain-link adjusts at the stretching stage, and panels just need accurate post spacing. Wood is the classic DIY build but involves the most cutting and fitting. Our DIY or hire a pro guide and the fence types hub compare them all.
How deep should fence posts be?
The common rule: bury about one-third of the post — roughly 2 feet in the ground for a 6-foot fence — in a hole about three times the post's width, and always with the bottom of the hole below the local frost line in cold climates so frost heave can't lift the post. Gate and corner posts deserve the deepest holes on the job.
Building to replace a tired fence rather than repair it? Sanity-check the decision first with the repair-vs-replace rule in our fence repair cost guide — and if you'd rather hire it out, here's how to find a good fence company near you.