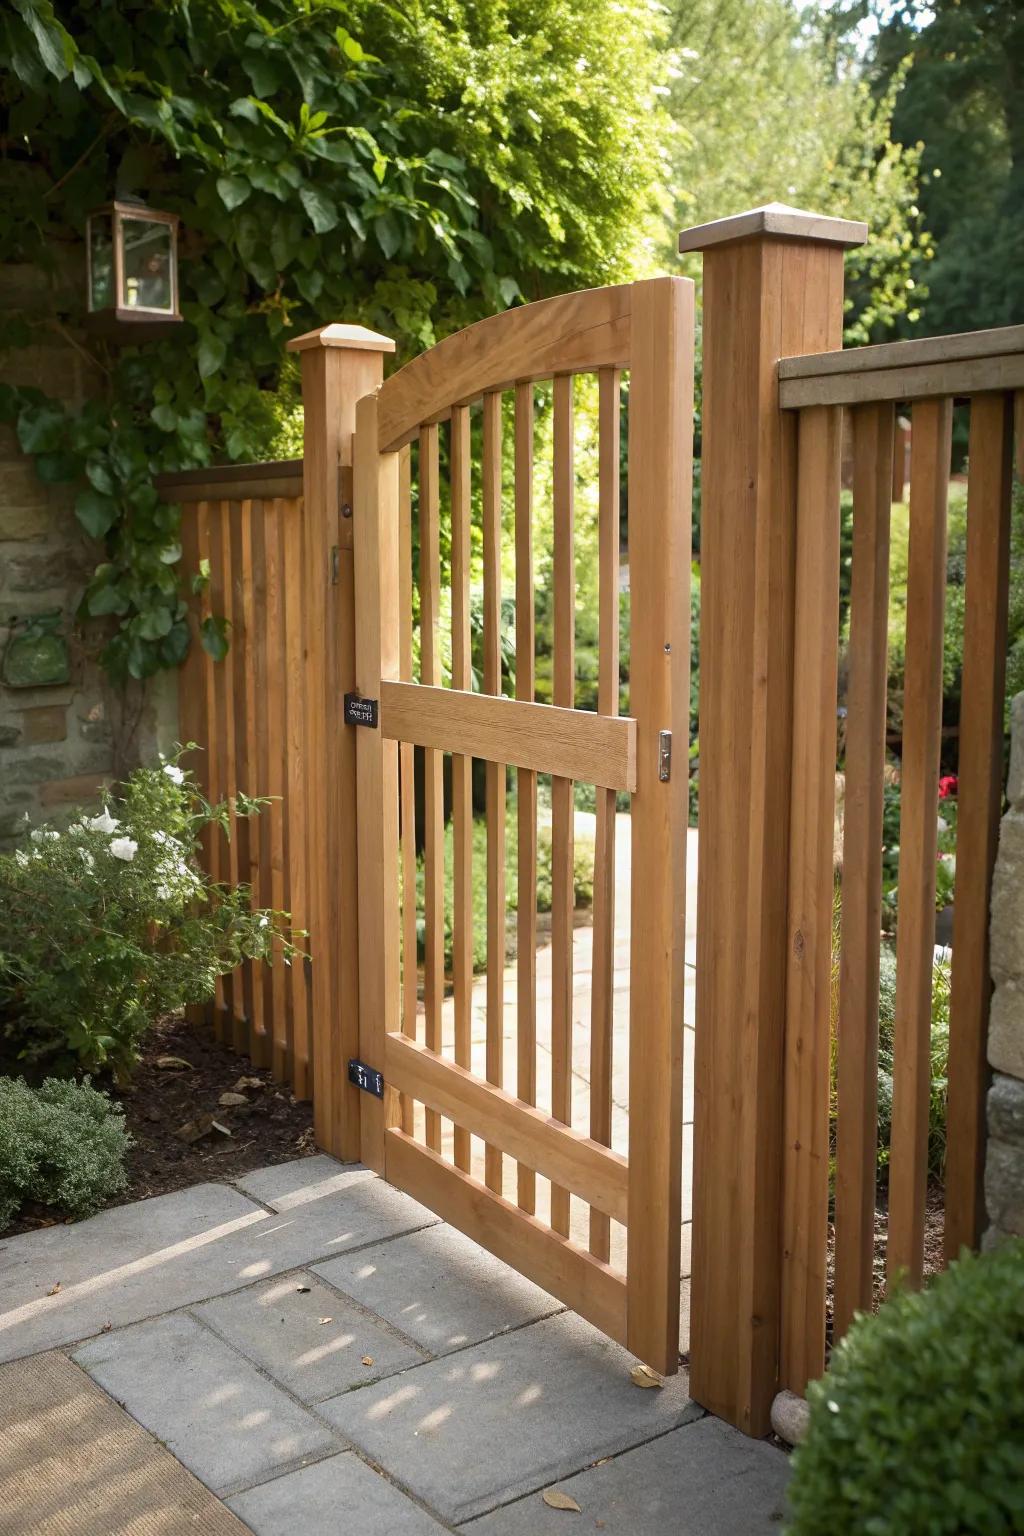
Why gates sag
Three forces gang up on every gate. First, leverage: the gate's whole weight hangs off the hinge side, trying to rotate the frame into a parallelogram — top corner pulling away from the post, bottom latch-side corner dropping. Second, hardware fatigue: hinge screws work in and out of the wood with every swing and every season's swelling, until the holes are stripped and the hinges themselves wear loose. Third, the post: a gate post carries all that leverage plus wind, so it slowly leans or twists — and no adjustment to the gate can fix a gate whose post has moved. Diagnosis is separating these three, because each has a different cure.
Diagnose before you buy parts
- The lift test. Stand at the latch side and lift the gate by its bottom corner. If it rises back into alignment and the latch meets its strike squarely, the gate can still hang straight — the problem is hinges or frame. If the gate and post move together as one unit, the post is the problem.
- The post test. Put a level on the gate post, on two faces. Then push the post at the top: any rocking or give at the base means footing or rot trouble — screwdriver-test the base at ground level while you're there.
- The hinge check. Open the gate halfway and gently lift the latch edge. Play you can feel at the hinges — movement before the gate itself moves — points to worn hinges or stripped screw holes. Look for rust streaks, screws visibly pulling out, and bent hinge leaves.
- The frame check. Measure the gate frame's two diagonals, corner to corner. Equal diagonals mean a square frame; unequal means the frame itself has racked, and hinges alone won't fix it.
Tools and materials you'll need
For most sagging gate fixes
- Drill/driver, tape measure, level and a carpenter's square
- Long exterior screws (3 to 3½ inch) — the single most useful item on this list
- Replacement heavy-duty gate hinges, one size up from what's fitted, if the old ones are worn
- An anti-sag kit (cable, turnbuckle and eye bolts) or lumber and screws for a diagonal brace
- Wood glue and dowel slivers for re-packing stripped screw holes
- A wrench for the turnbuckle, shims or a block to hold the gate at height while you work, and a helper for wide gates
The fixes, in the order to try them
-
Tighten — then upgrade — the hinge screws
Start free: snug every hinge screw. Any that spin without biting are stripped. Fix them properly by replacing them, one at a time so the gate never hangs loose, with 3 to 3½ inch exterior screws long enough to pass through the gate frame and bite into the solid core of the post behind it. Truly destroyed holes get packed with glue and dowel slivers, left to set, then re-drilled. This step alone cures a surprising share of "sagging" gates.
-
Replace worn or undersized hinges
If the hinge knuckles are sloppy or the leaves are thin and bending, replace the hinges with heavier-gauge ones with longer leaves, which spread the load over more wood. Use three hinges on tall, wide or heavy gates instead of two. Keep the hinge barrels in a true vertical line — a hinge mounted even slightly off-axis makes the gate fight itself every swing.
-
Re-square the frame with a diagonal brace
For a racked wood frame: prop the gate at its correct height, pull it square (diagonals equal), and fit a solid diagonal brace running from the bottom corner on the hinge side up to the top corner on the latch side. That brace works in compression, carrying the latch side's weight back down to the bottom hinge. A brace run the other way does nothing — direction is the whole trick.
-
Or fit an anti-sag cable kit
The adjustable alternative: a steel cable runs from the top corner on the hinge side down to the bottom corner on the latch side, in tension, with a turnbuckle in the middle. Tighten the turnbuckle a little at a time until the latch meets its strike cleanly — a quarter turn past "just enough" is plenty. Recheck after a week of use; cables settle. Kits suit frames you can't easily brace with lumber, and they can be re-tensioned as the gate ages.
-
Align the latch last
Only once the gate hangs true: close it gently and see where the latch actually meets. Move the strike plate to the latch — don't force the gate to meet a strike mounted for the gate's old, sagged position. Expect to re-check alignment once a year; wood gates move a little with the seasons, and a latch adjusted in August may bind in February's swollen wood.
Gate repair is one of the cheaper pro jobs
Hinges, latches and re-bracing sit at the low end of the $100–$400 gate repair range; a new gate post is what pushes it to the top. See the full breakdown before you decide.
When the gate post is the real problem
If the lift test moved the post, or the level says the post is out of plumb, stop adjusting hardware. The signs: the gate sags again within weeks of every fix; the gap between gate and latch post is wedge-shaped — wide at the top, tight at the bottom (or the reverse); the post rocks at its base or fails the screwdriver test at ground level. The durable fix is post work: re-set the post plumb in a fresh, wider footing, or replace it if it's rotted — exactly the job in our rotted fence post guide, with the alignment approach from the leaning fence guide. Gate posts deserve the deepest, widest footing on the fence. And because post work means digging, call 811 a few business days ahead to have utilities marked, every time — a gate post hole is still a hole.
Gates on vinyl, aluminum and iron fences
The diagnosis is the same, but the hardware differs. Vinyl gates hang on internal aluminum or steel frames; sagging usually means the frame's corner screws have loosened or the hinge post needs its internal stiffener checked — parts are manufacturer-specific, as the vinyl fence guide explains. Aluminum gates sag less (the material is light) and the fix is usually hinge adjustment or replacement with the maker's hardware — see the aluminum fence guide. Iron and steel gates are heavy enough that sagging means worn heavy-duty hinges or a post problem, and hinge replacement can mean welding — that side of gate work belongs to a fabricator, as covered in the wrought iron guide.
When to hand a gate to a pro
- The gate post needs re-setting or replacing — especially on a shared boundary line.
- Wide double gates, driveway gates, or anything with an automatic opener involved.
- Iron or steel gates with worn welded hinges.
- The gate is part of a pool barrier — self-closing and latch-height rules apply, and a pro knows your local code.
Everything short of that is squarely DIY — gate hardware is one of the friendliest jobs on the fence, as our DIY or hire a pro? guide puts it.
Sagging gate questions, answered
Why does my gate drag on the ground?
Because the latch side has dropped. The gate's weight, hanging off the hinges, slowly racks the frame into a parallelogram and wears the hinge hardware, so the bottom latch-side corner ends up an inch or more lower than it started — low enough to scrape. The lift test in this guide tells you whether the drop is in the hinges, the frame, or the post.
Which way should a gate brace run?
A wooden brace works in compression, so it runs from the bottom corner on the hinge side up to the top corner on the latch side — pushing the latch side's weight down to the bottom hinge. A cable anti-sag kit works in tension and runs the opposite diagonal: top hinge-side corner down to bottom latch-side corner. Mixing the two up is the most common reason a "fixed" gate sags again immediately.
My gate only sticks in summer. Is it sagging?
Probably not — that's seasonal movement. Wood swells in humid summer weather and shrinks in dry winter air, so a gate fitted tight in winter can bind in August. If it lifts and latches fine in spring and fall, the cure is a little more clearance (plane the binding edge sparingly) or a latch with some adjustment range, not new hinges.
How much does it cost to fix a sagging gate?
Professionally, gate repair runs about $100–$400: hardware-only fixes (hinges, latch, bracing) sit at the low end, and a new gate or a new gate post at the high end. DIY, the same hardware fixes cost the price of the parts — often just a set of long screws or one anti-sag kit. See the cost guide for how gate work compares with other repairs.